Photography tips
Whether you take plumeria photos with a phone, point & shoot, or SLR, these principles will improve their AHHHH factor.
But first, let me state the obvious (though, not obvious enough from some of the photos I’ve seen): Do not include dead or browning blooms in your photos. There, I said it.
Onward…
Here Comes The Sun
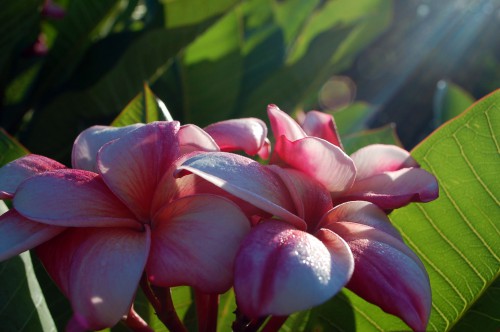
Generally you are ill-advised to photograph a bloom in full sunlight, as that will usually wash out the color. But there are exceptions, like using a softer sunlight in the early morning or early evening. Or using the sun rays in the photo.
Get Down!
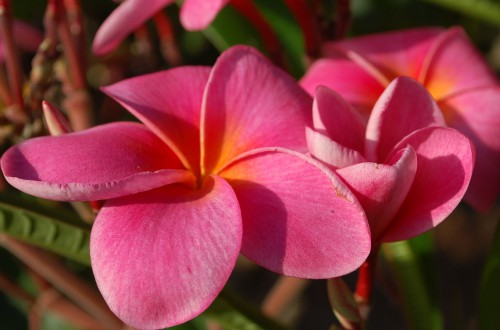
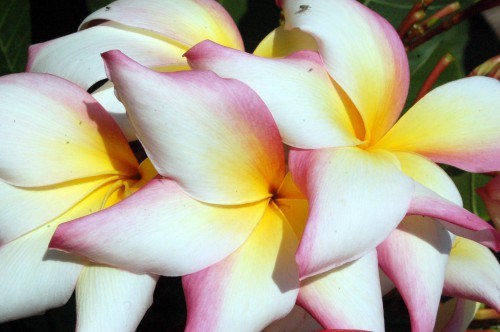
No one wants to see a photo that includes the whole plant, the dog sniffing the plant, the sprinkler in the yard…you get the idea. We want to see BLOOMS! So get down where the blooms are. Get close!
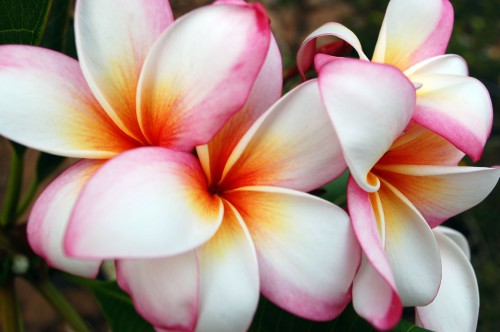
Fill ‘Er Up!
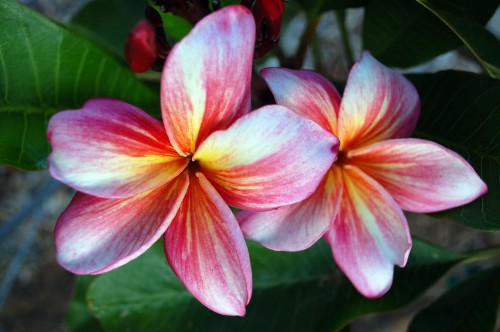
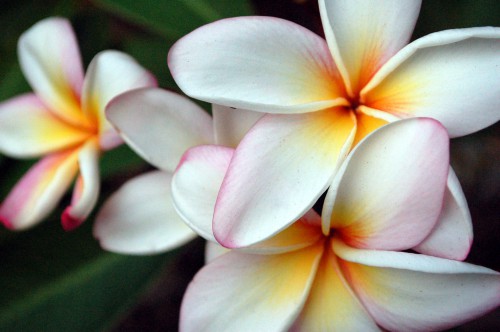
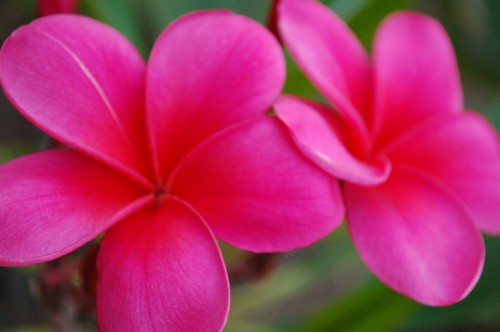
Playing off the previous point, try to fill the frame with all bloom! Makes for a stunning photo. Some people are stuck on getting every inch of every bloom in the frame. Not necessary! (Unless you’re using the photo for identification purposes.)
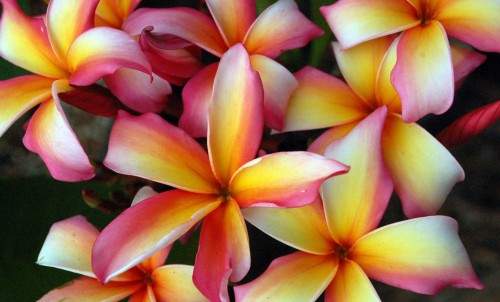
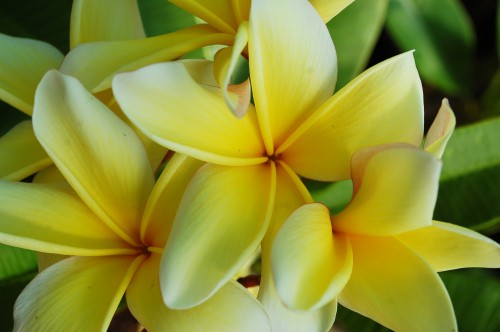
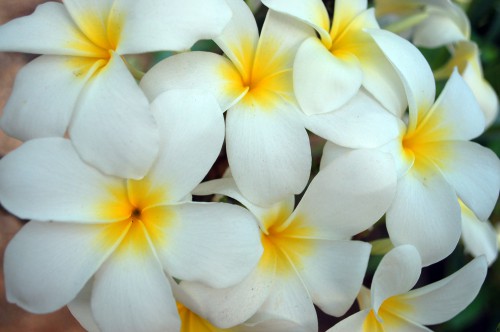
Background Blooms
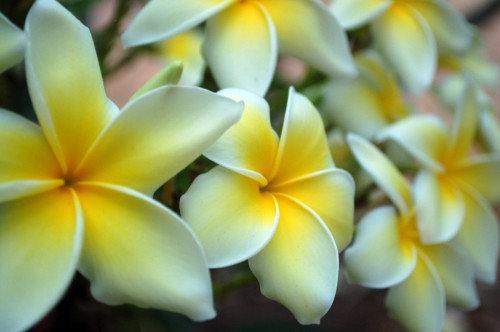
Look for opportunities to include blooms in the background, out of focus. This can really add to the visual impact of the photo.
Play With Angles
Instead of of the good ol’ head-on shot, play with the angle of your shot. This is the beauty of digital pix, as you can take as many test shots as needed to find the right one.
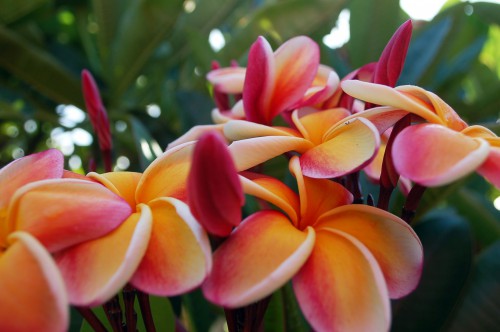
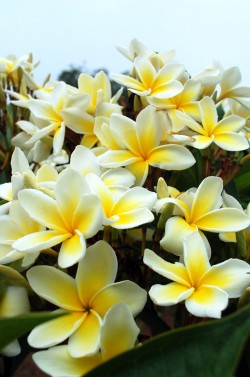
Buds Are Your Friends
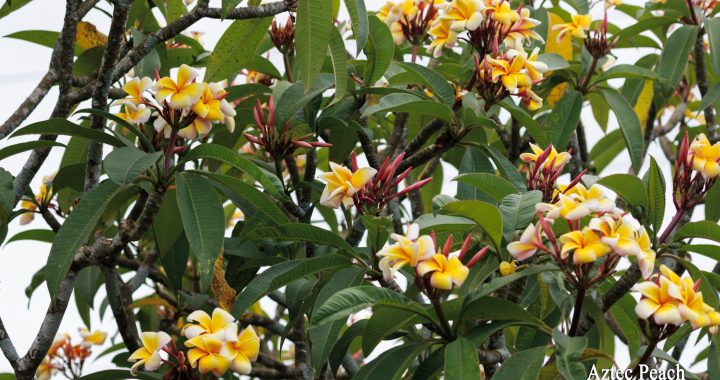
Including unopened buds with opened blooms can add some real interest.
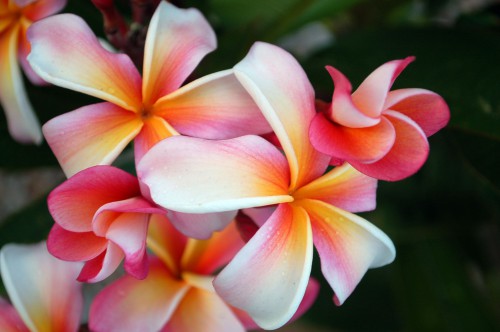
Wet Is Best
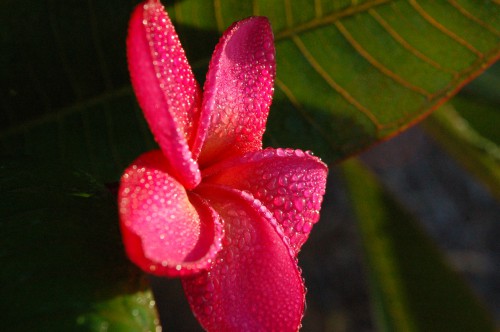
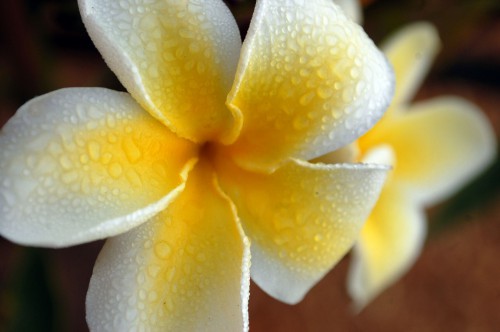
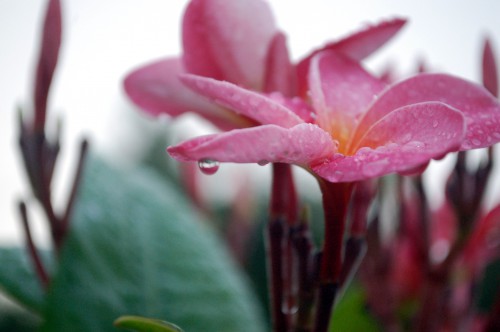
Get out in the yard after a rain or heavy dew!
Flash In The Pan
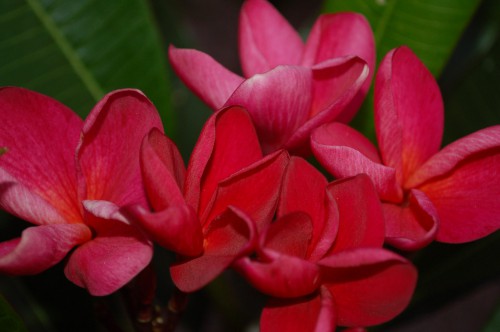
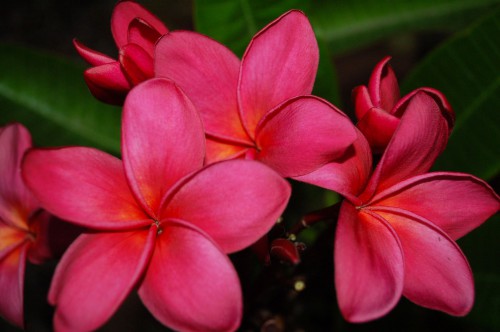
Using flash in the early evening/dusk hours can really bring out the brilliance of deeper-colored blooms. (See my post about this in more depth.)
Have fun and get clickin’!!
 Known Plumeria Names
  Ownership of your plumeria photography
  Understanding Plumeria’s Seasonal Cycles
  Why are Plumeria Seedlings so Different?
  Mealy Bugs Plumeria Pests