Michele’s Bag Rooting Method
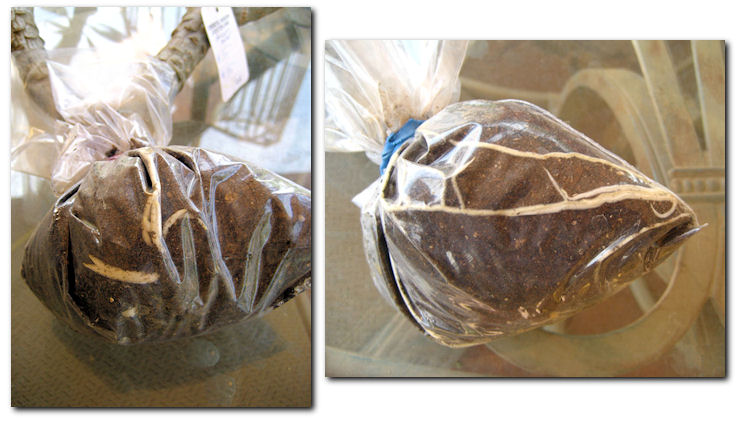
I’ve been bag rooting Plumeria cuttings since 2004 when our club was doing a sale at the Master Gardener’s Fall Sale in downtown Phoenix, AZ and I ran out of black plastic pots. Out of necessity, I went to my kitchen pantry to look for something that would hold soil. The plastic freezer storage bags popped out at me.
Low and behold, the extra 12 cuttings in the plastic freezer bags rooted even faster than using the traditional black pots. Plus, carrying the plastic bag rooted Plumerias to the sale was easier than the black pots which toppled over in the car when I braked for rabbits and crazy drivers. I thought nothing of bag rooting as a rooting technique — just an answer to a problem I had at the time. Years later, other people came upon the idea.
Pros of bag rooting:
- Probably the simplest and easiest way to start cuttings — and I’ll share a little trick that works great for me.
- Excellent results with roots appearing at the bottom of the bag in less than 25 days.
- Bag rooting saves on soil and space.
- Anyone can do it.
Cons of bag rooting:
- Do not try this during cold dormant months, inside the house, or when you can’t place the bags outside in the sun. You will be disappointed and probably lose your cuttings. You could try this method on a heat mat inside during winter months if you like.
- I used to use rubber bands to secure the bags, but I find you can wind them too tight and kill your cuttings. Use black electrical tape instead. Its waterproof and sticks well.
I like to do this method of bag rooting in March through June in Arizona for best results.
YOU’LL NEED:
Plumeria cuttings – Cured and ready to pot up.
Rooting hormone – any brand will do. And if you don’t have it on hand it is not totally necessary.
Plastic storage freezer bags – Make sure they are “freezer” bags because they are usually thicker. Use the 1 pint size for average size cuttings; use the 1 gallon size for very large cuttings 2 – 3+ feet tall. Check your dollar stores for storage bags. A great buy at 20 for $1.00.
Black electrical tape – You know there’s a roll around somewhere.
Fresh soil – A new unopened bag. To me this is the most important step. When you use fresh, new, unopened soil – it still has all the factory moisture in it and that’s what you use as “water” in bag rooting. Here in Arizona we recommend using “Super Soil – Palm & Cactus Mix” in the red bag. It is sold in almost every Home Depot store. It has great drainage for our climate.
Scoop – To easily add soil to your bags. Anything will work even a used yogurt cup or Solo cup. Hands work too.
A large box or plastic storage tub – Used to hold all your bagged cuttings in one place. They do like company! 🙂
INSTRUCTIONS:
1. Gather your cuttings together making sure they are cured and ready to root.
2. Dip the ends into rooting hormone. I use “Homadin 2” (you can find it online) which is a little stronger than the store bought root hormone. It is made for harder, woody cuttings. But regular rooting hormone will do fine too. If you just don’t have any rooting hormone around, don’t worry … just start anyway.
3. Here is my secret to getting these rooted guys out of the plastic bag without breaking roots. Cut one side of the bag leaving on the zip part intact. Cut a very thin strip off the side of the bag without cutting into the zip part. This side zip allows you to slide your rooting cutting out with ease. And, you’ll have a longer bag for your cutting as well. See the photo.
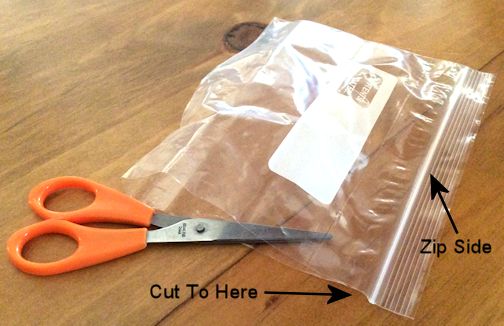
4. Place your bag upright on a table with the “zip” part on the side and place your cutting into one corner of the bag.
5. Fill with soil. Usually a few scoops is good. Do not add water. The moisture from the fresh soil is plenty for rooting purposes.
6. Pull the bag up and around the soil and cutting pushing out all the air and keeping the cutting in the corner of the bag.
7. Twist the bag tightly around the cutting and wrap with an a good, long piece of electrical tape – tight but not overly tight.
8. Set all your prepared cuttings your box or plastic tub.
9. Do not add water to soil, do not poke holes in bags, do not add fertilizer.
10. Set the finished bagged cuttings together in an area that gets sun and shade. The cuttings like to be together. They are quite sociable. The exposed tops of the cuttings can get sun. The bags will be protected in the box or plastic tub.
11. You will see moisture forming inside your bag. This is good. It comes from the soil and is the correct amount to start rooting.
12. Leave your cuttings alone for about 30 days. Then check the bottom of the bags for roots. They will appear as creamy white strands (like above photos). Leaves should be forming as well.
13. When you see a good amount of roots and leaves, you may transplant your newly rooted cuttings into a new pot and treat it like a rooted plant by watering and fertilizing.
14. To pot up — “unzip” the zip lock part of the bag and slide it gently into the pot. Having this opening protects the roots from breaking and lets you into the bag easily without having to cut or manipulate anything.
Hope you give this a try.
 Happy growing … Michele 🙂
 Plumeria Propagation – Cutting, Rooted or Grafted
 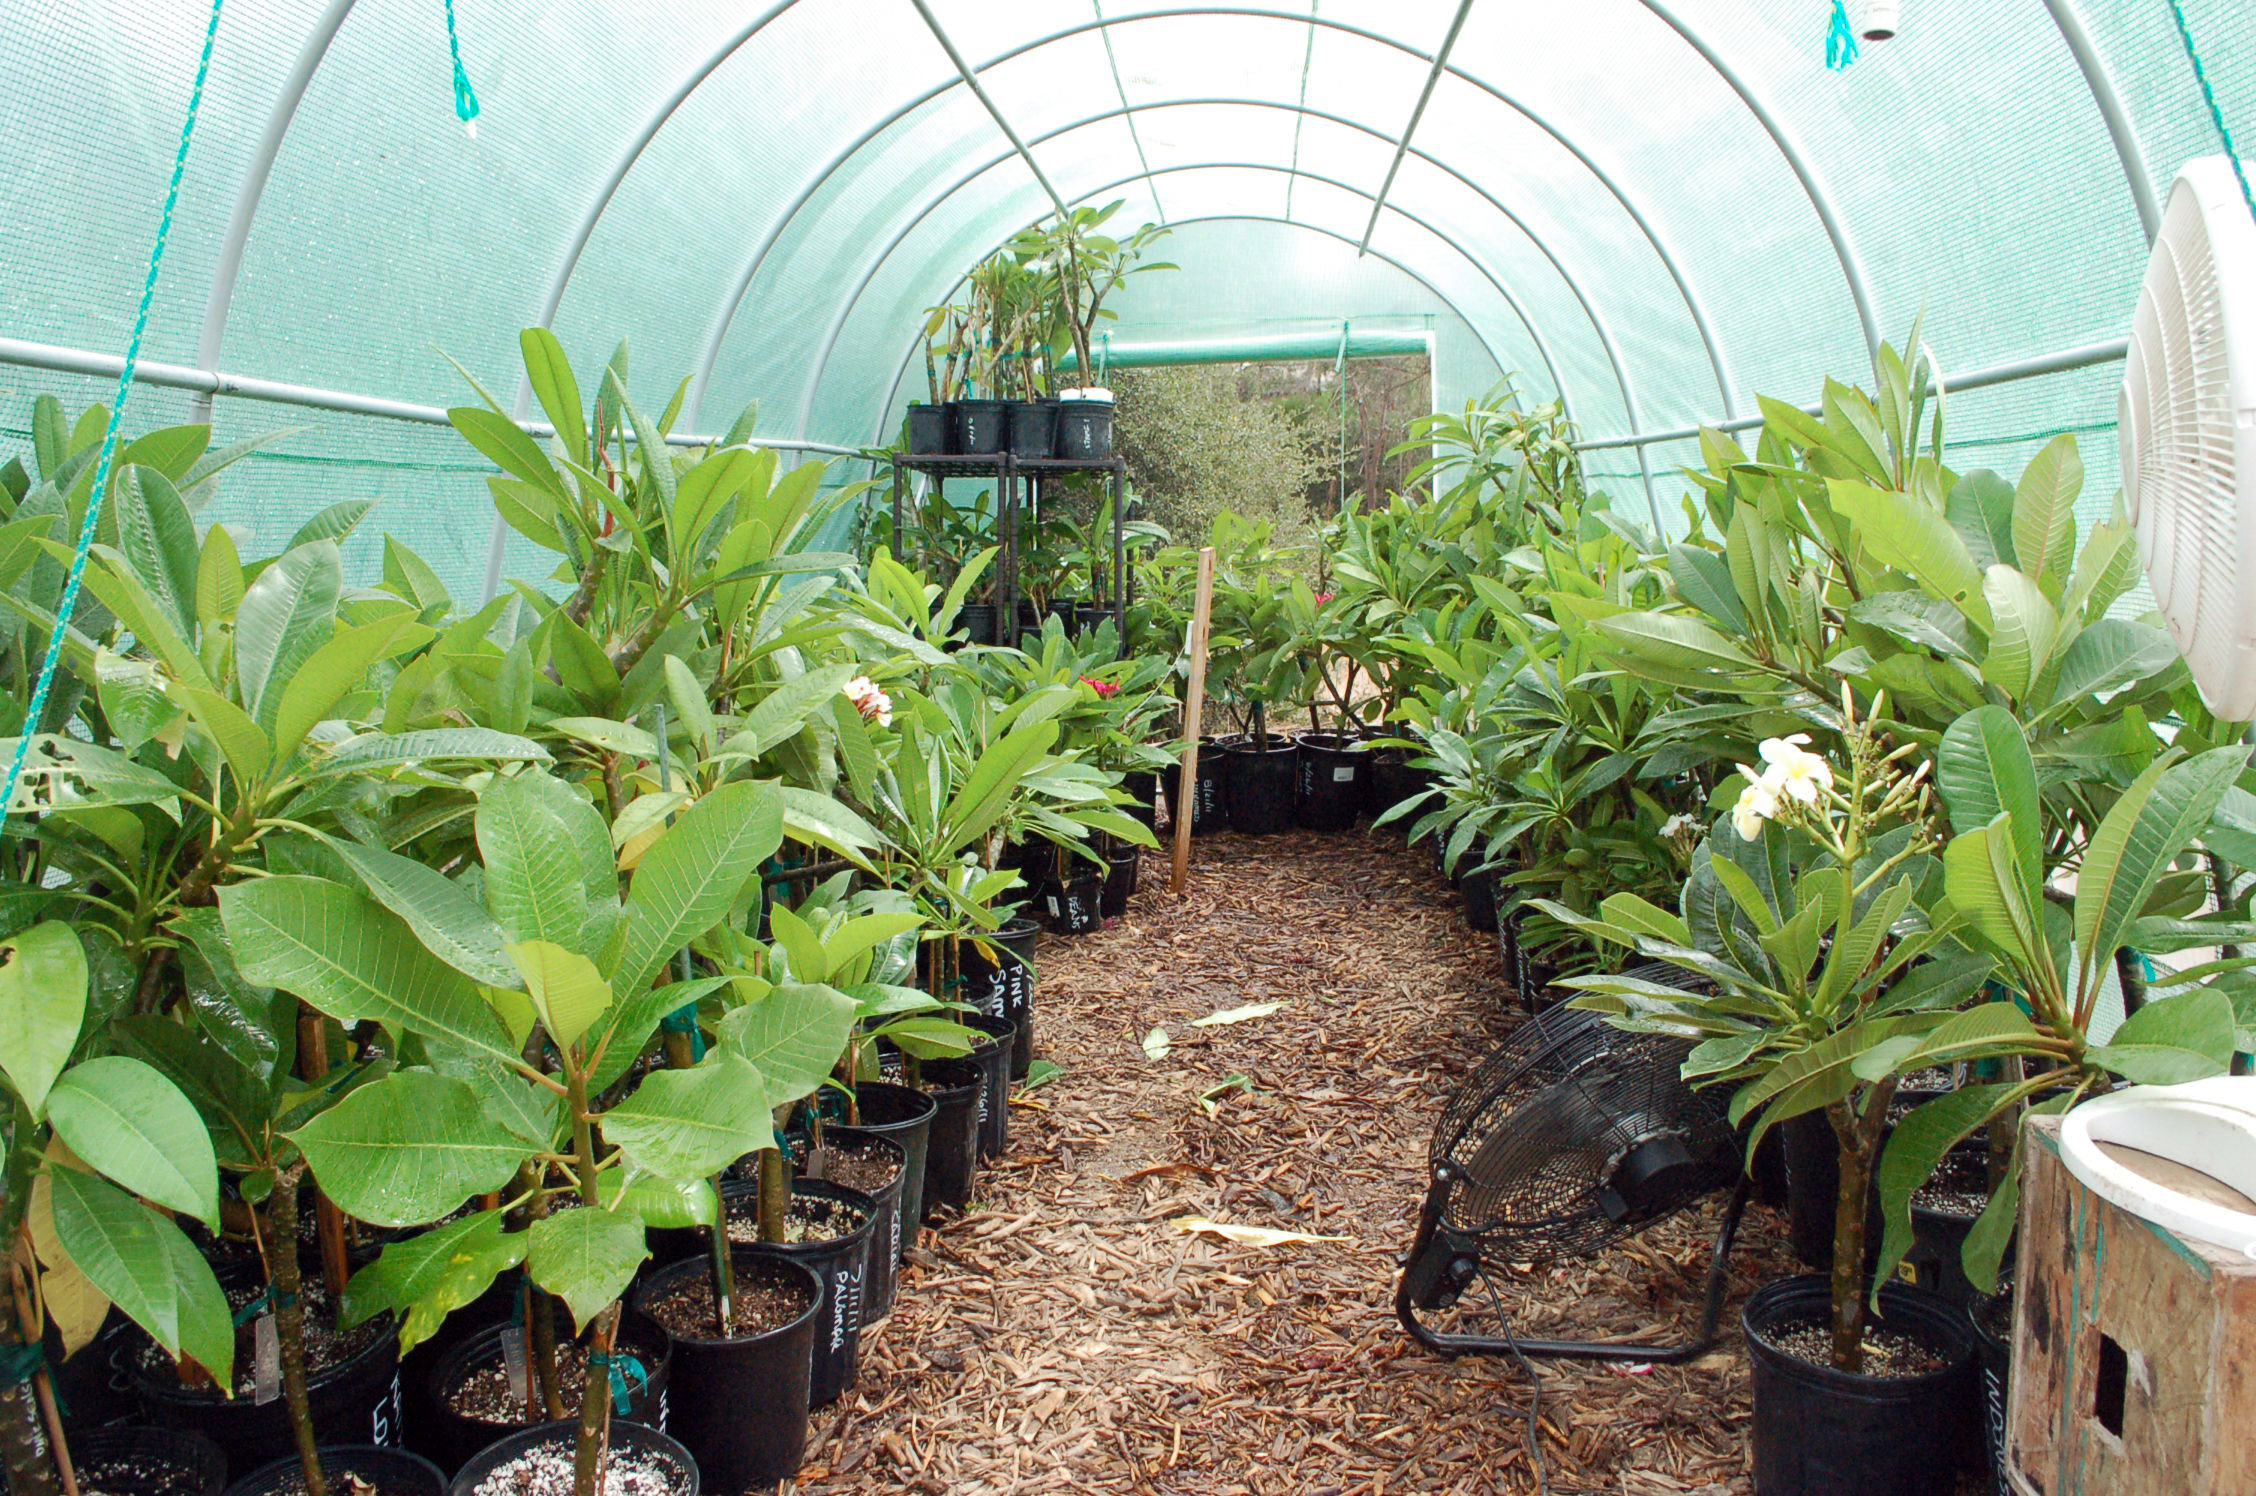 What I use a greenhouse for
 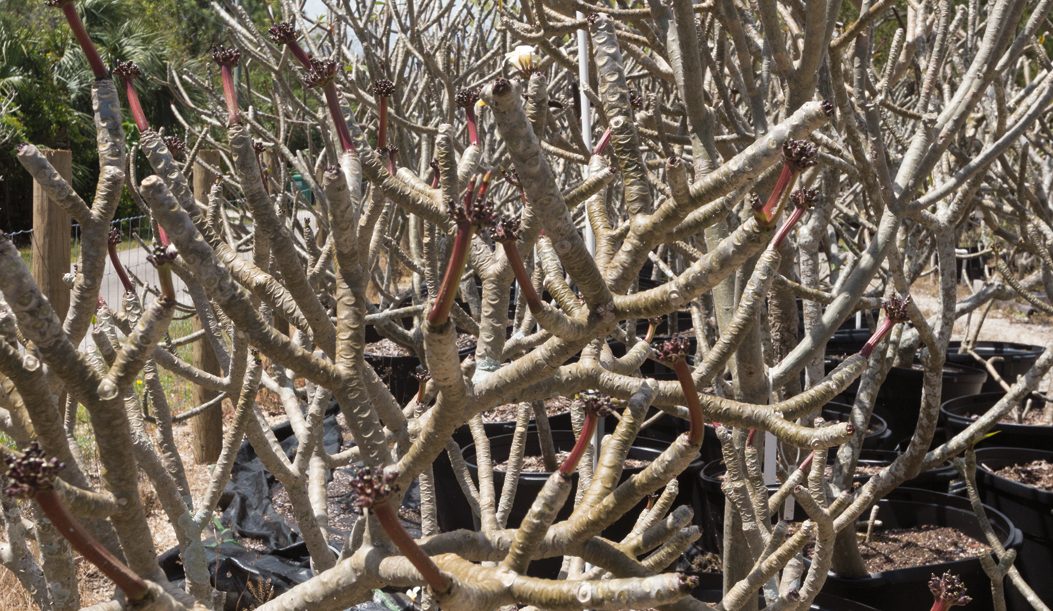 How to Grow Plumeria from Cuttings
 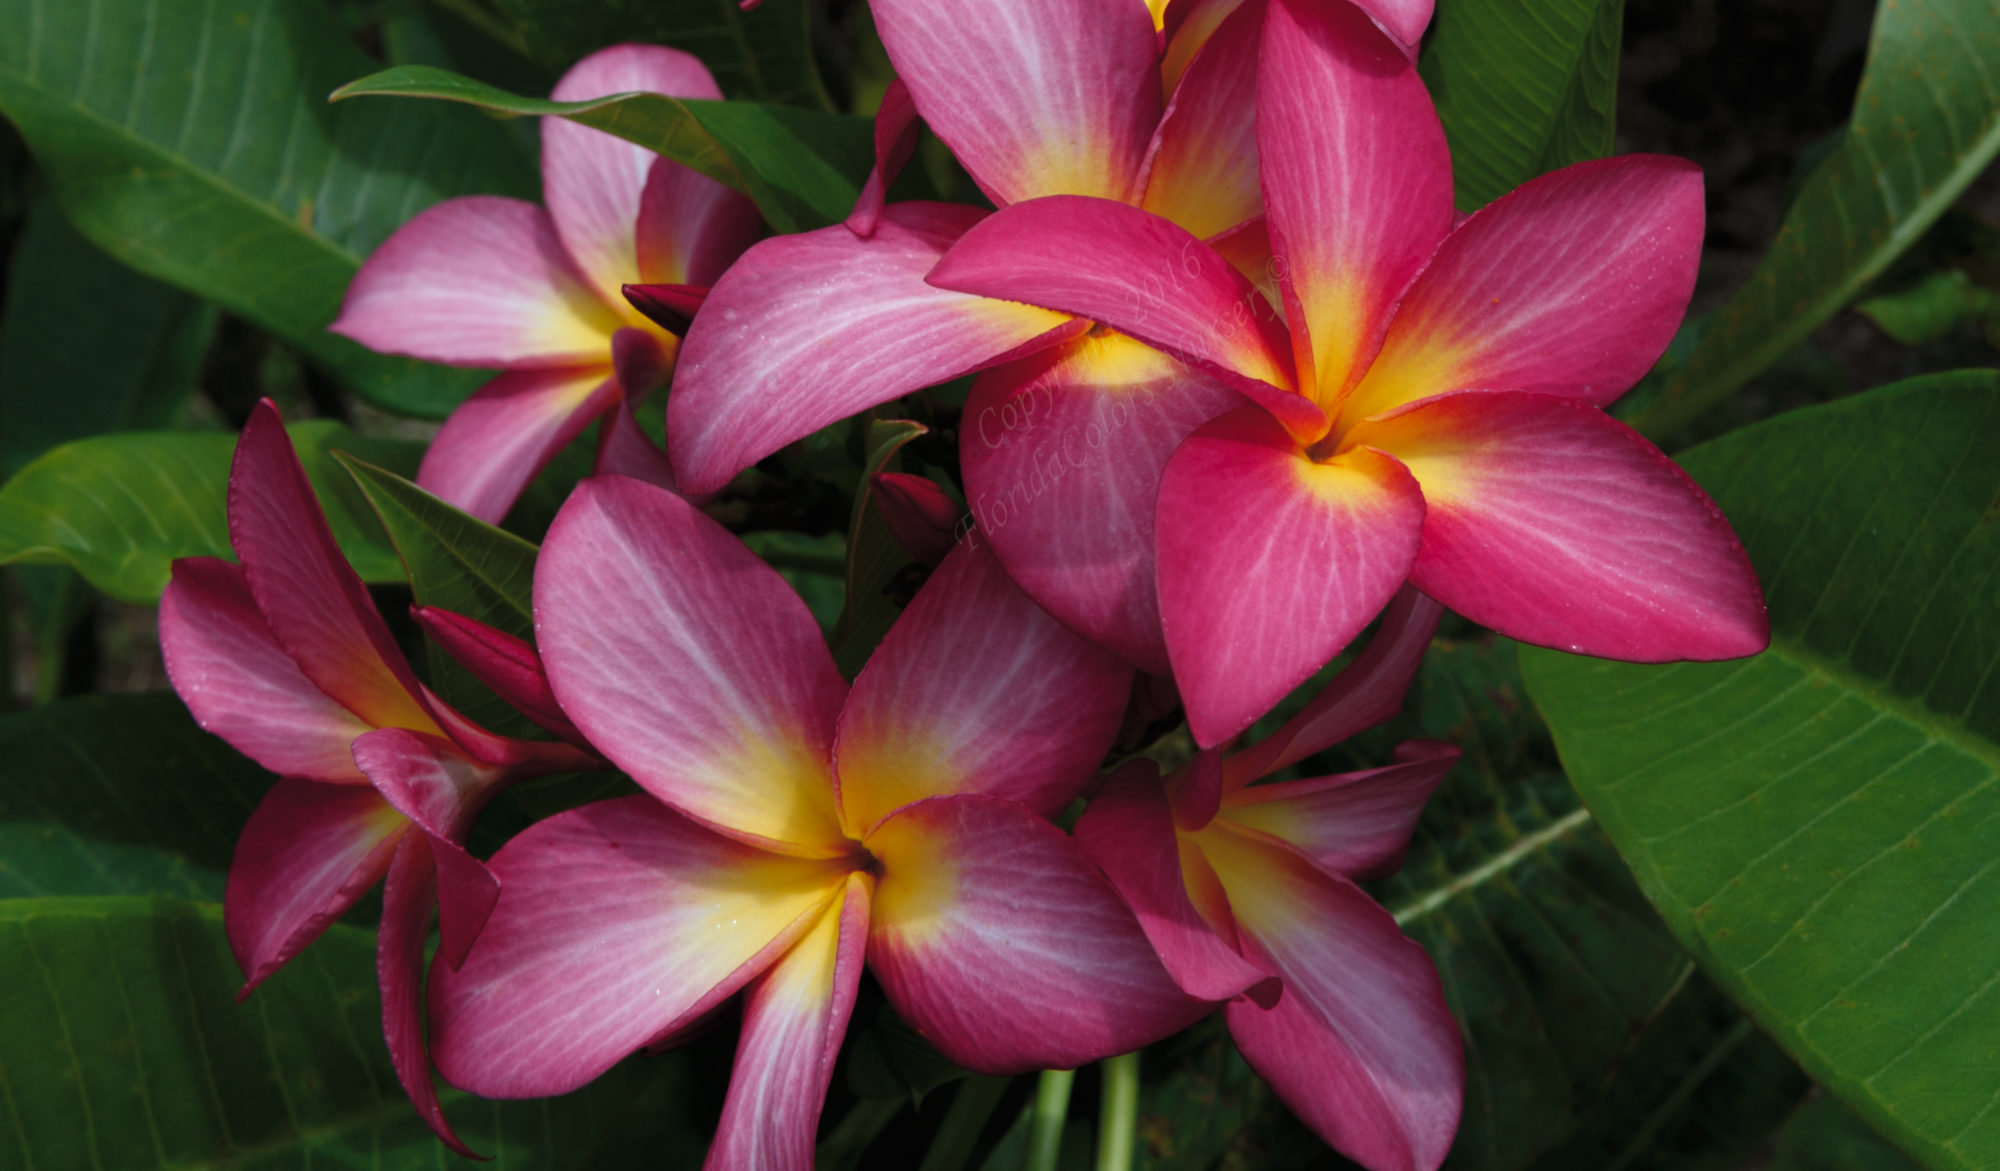 Understanding Plumeria’s Seasonal Cycles
 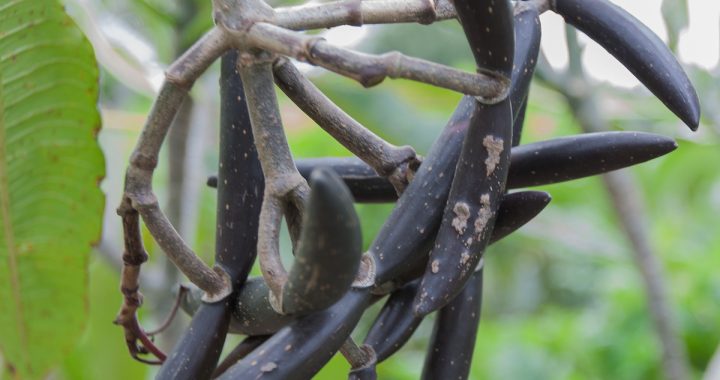 Why are Plumeria Seedlings so Different?
 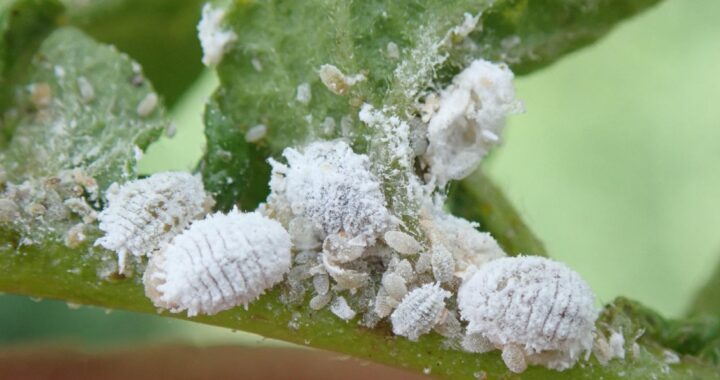 Mealy Bugs Plumeria Pests
 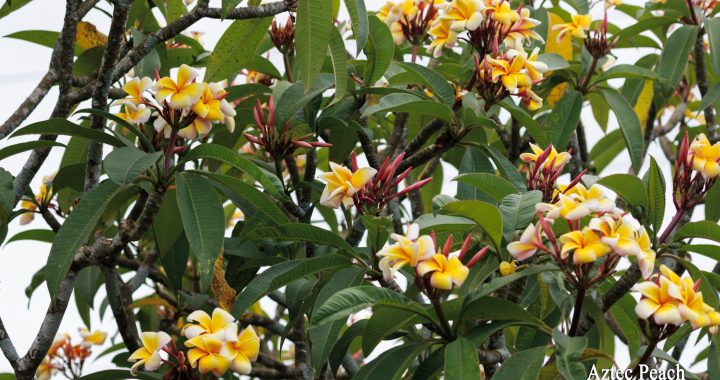 Known Plumeria Names