Rooting Plumeria Seeds, Water Method
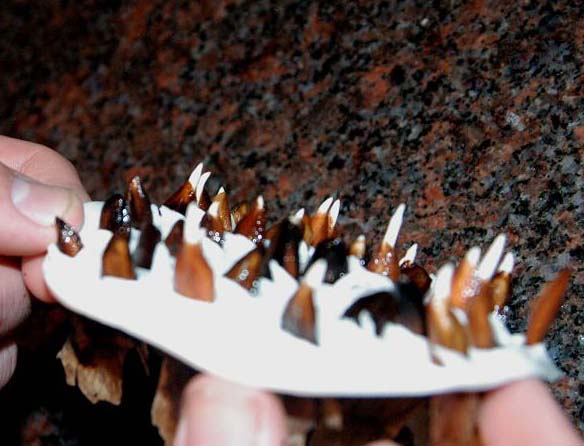
Growing plumeria seedlings is one of the most exciting parts of plumeria culture. There is nothing more mesmerizing than to watch your first flowers open on an original plumeria cultivar! Seedlings are also necessary to have on hand for grafting, should you undertake this process yourself. In order to achieve these goals, you have to be able to root the seeds. Here will be explained a method that provides an excellent germination rate, and is a spectacular process to observe. These particular seedlings are going to be grown indoors, under lights over the winter, but this method works just as well for springtime outdoor rooting. Let us begin with seed basics when water rooting!
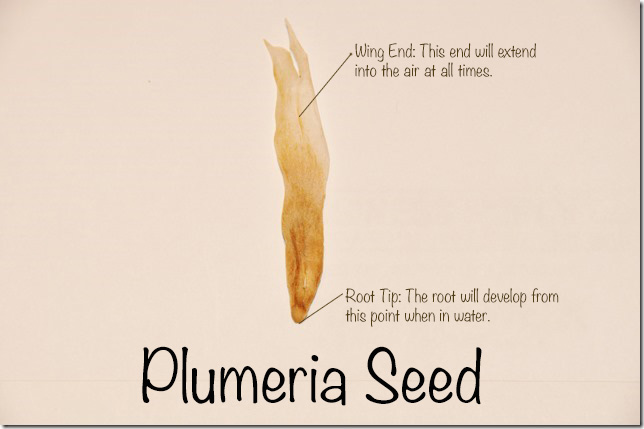
WHICH END IS UP?
Where Do You Find Plumeria Seeds?
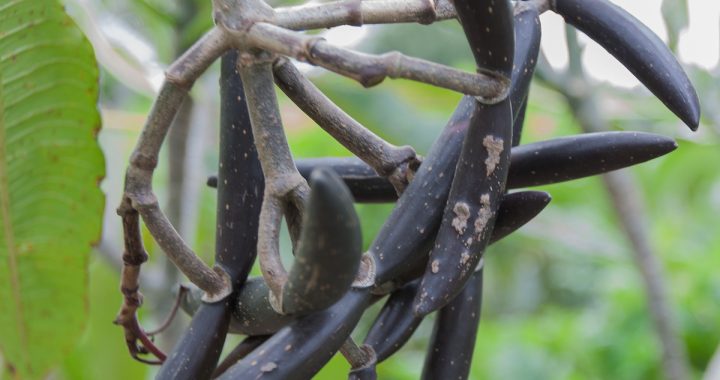
There are many sources for plumeria seeds. Established plumeria nurseries will usually offer seeds, and Ebay is full of auctions for them. After you have grown plumeria for a while, you will end up with pods on your own plants. The pods take approximately nine months to ripen, so patience will be needed! Seeds are best fresh, but many will still be viable two years after the pod opens.
Water Rooting Method
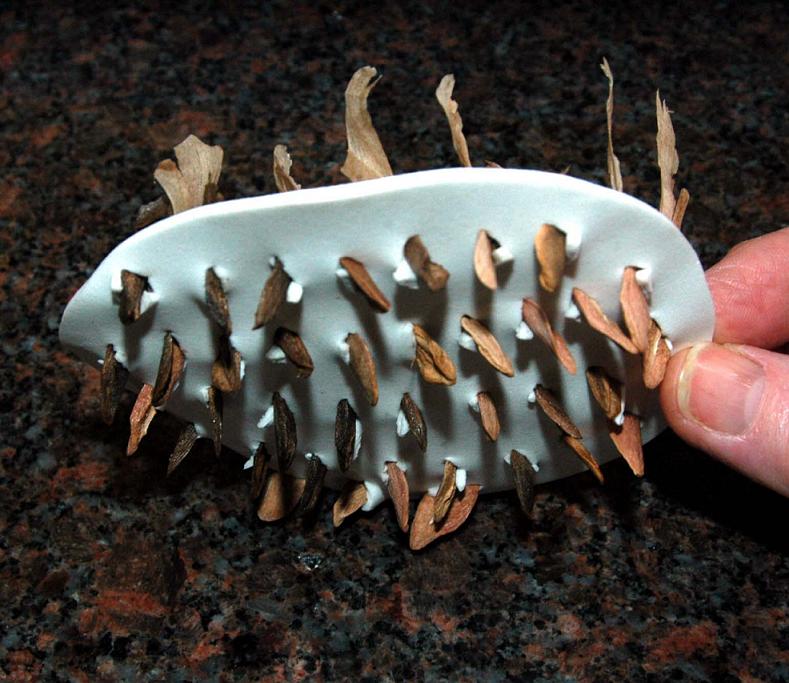
For the rooting, a piece of craft foam (a sheet of which can be found at any craft store) is used. These seeds are rooted in a windowsill, so the craft foam is cut to fit inside a bowl small enough to sit on the sill. The foam is then placed on a cutting surface, and with a grafting knife (or any very sharp instrument), a series of slices where the individual seeds will be placed are cut into the foam. When choosing your seeds, pick ones that are newly harvested, plump, and discard any seeds that are flat or look unhealthy. This first photo will show you what the seeds look like after they are inserted, tip end down, wing end up, in the foam. The tips are the part that will be submerged in the water.
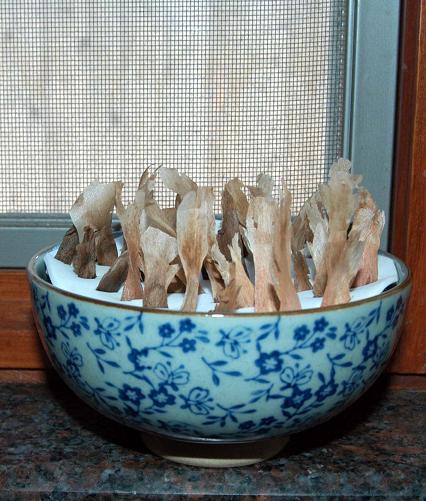
The seeds in the craft foam are placed into a bowl that is filled with water, and set on a windowsill that gets good morning light. The water in the bowl is changed once a day. Note the wings are pointed up! This is also an excellent excuse to collect nifty Asian rice bowls!
It normally takes between three and six days for the roots to develop. Most of the seeds will open at approximately the same time, but some will have a shorter or longer rooting period. The seedlings are removed for potting in soil when the roots are 1/2 inch long. It is unlikely that a seed that has not sent out a root in ten days is viable. With a fresh, viable seed pod, the rooting success with this method is approximately 95 to 100%.
Potting Up
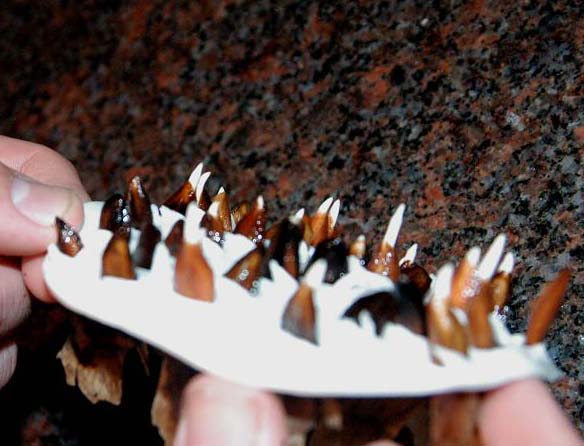
The seedlings that are rooted are potted up in a one gallon pot of Pro Mix, or any other fine seedling medium. Here is the gallon pot, waiting for the seedlings.
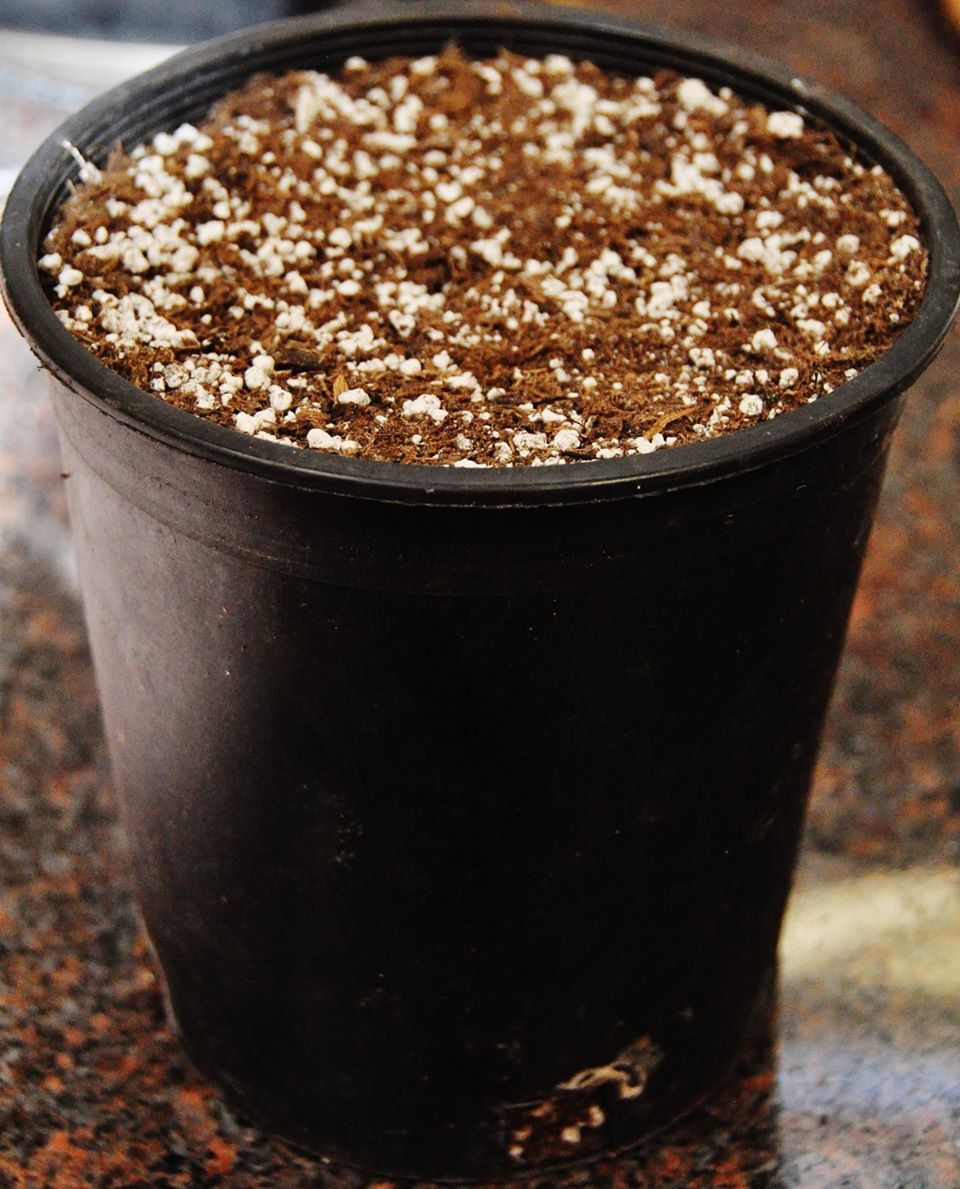
The rooted seedlings are gently pushed from the WING END through the craft foam. If you attempt to push the root end back through the craft foam, you risk the chance of breaking off the root. A small diameter hole is made in the seedling soil with a thin wooden skewer. A small gauge knitting needle would also work well for this purpose. The white root is the only part of the seedling placed into this hole. After inserting the root, GENTLY tap the soil in around it as the root is fragile at this stage. The rest of the seed sits above the soil line. Repeat this process for all the newly rooted seedlings from one pod parent.
Let the water, when added. do most of the work in stabilizing the new root. Make sure to clearly and permanently mark any information you have regarding the pod parent on the container.
The newly potted seedlings are covered with a gallon sized plastic bag to keep them warm and humid. A hole is sliced into the top of the bag to provide ventilation.The pot is watered immediately after planting and whenever it starts to dry. It is important not to let the pot dry out completeley while the new roots are forming. The pots are kept in dappled shade during this period of growth. As more of the seeds root in the foam, they are added to the pot of their particular pod name.
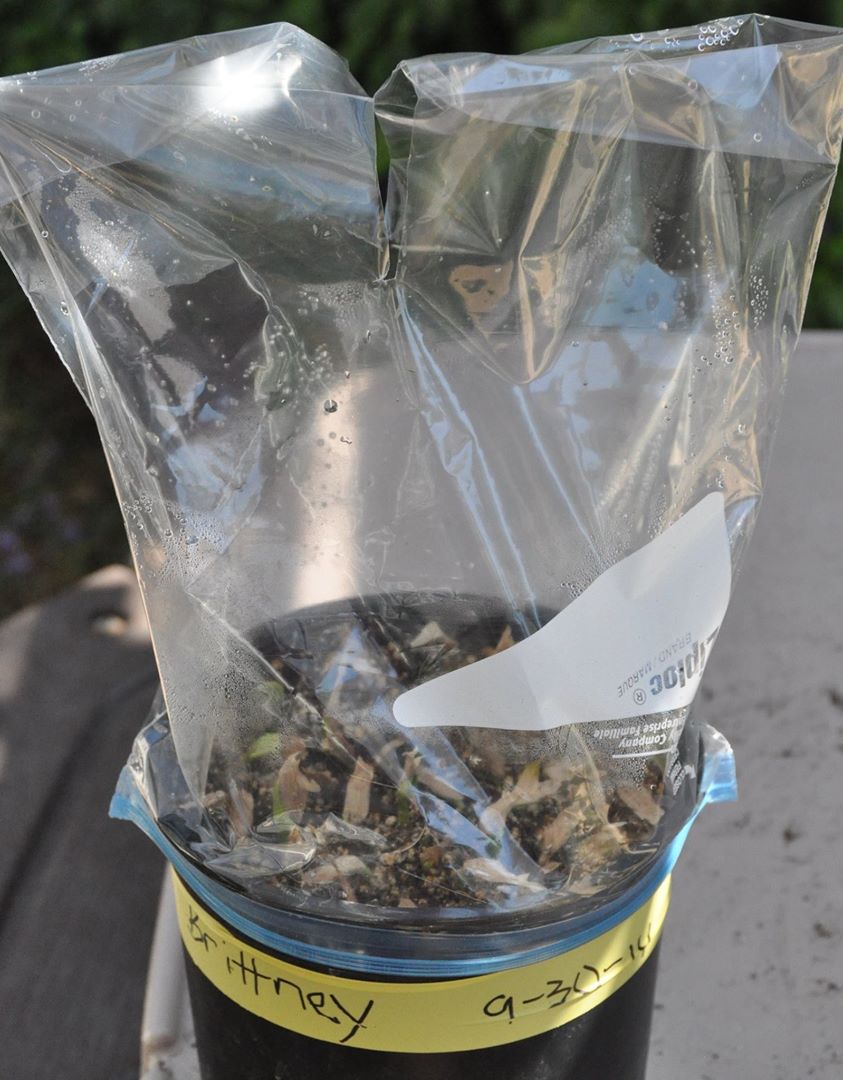
The first set of two green projections you will see emerging within a few days from the wing end of the seedling are actually not true leaves, but cotyledons (also called seed leaves). These cotyledons feed the plant until the growth of the true leaves takes over that position. Resist the temptation to assist the plumeria with shedding their wings! This usually results in a decapitated seedling! The true leaves will begin to emerge within a few days to a week of the opening of the seed leaves.
When all the wings have fallen off the cotyledon’s, you can remove the plastic bag, and set the seedlings in a well lit area.
The seedlings can be potted up into their individual pots when they have two sets of true leaves. Depending on the time of year, this process could take between two weeks to a month from when you first see the cotyledons. When the seedlings have grown their two sets of leaves , tap the bottom of the gallon pot, hit the sides of the pot a few times, and the newly rooted seedlings will all slide out at once.. Be careful when dividing the seedling’s roots. Your goal is to maintain as much of the root mass as possible. Insert the individual seedlings into your seedling soil and container of choice. Again, here, Pro Mix was used. Here are some recent seedlings, individually potted up and individually tagged with their pod information. Do not be concerned if your seed leaves turn yellow and fall off. Their job of nourishing the seedling is done.
Black plastic grow bags are being used as the container for the seedlings. The bags dimensions are 2 inches by 6 inches. If these seedlings were being grown in the spring, the seedlings would go directly from the group rooted pot into one gallon pots, but since it is nearly winter, there will be a need to keep these seedings warm until spring, and the bags make a lot less of a footprint for storing indoors under lights. This is the first year trying the plastic bags, and they seem to be working well. The bags are set snugly into a seedling flat for easy moving In the spring, each plumeria seedling will be transferred up into a gallon sized pot, or, if there is sufficient root growth, into a two gallon pot. Fertilizing during this initial growing stage will be applications of Dyna Gro Pro-Tekt and Botanicare Pure Blend Pro water soluble plant foods, applied at half strength with every watering. I have not used these two plant foods in the past, but so far, am seeing very positive results, and this link will be updated with how the seedlings develop with this regimen.
Happy growing!
 Why are Plumeria Seedlings so Different?
  Understanding Plumeria’s Seasonal Cycles
  Mealy Bugs Plumeria Pests
  Known Plumeria Names