Stumping/cutting back a plumeria tree – why and how
Stumping or cutting back a plumeria tree is done for a few reasons, usually it’s due to the tree getting too big and protruding into a neighbour’s yard or causing problems for your house. Personally I do it so that all the blooms are at face height and not way up on top of a high tree where you cannot see or smell them. Another reason is to create an attractive growth pattern that enhances its beauty.
I like a tree that can be cut to grow wide, these also make a great centrepiece for the garden (also look great in a big pot), shaping them is reasonably easy and before you start cutting you need to stand back and take a good look at the tree from different angles to work out the best cuts. Once you work out the shape you want to achieve you are ready to start cutting. Begin by marking where you want to finish the cuts then start removing the higher pieces that you want to either save, give away or just stack on the nature strip/kerbside. Keep them at a size that is easy to handle, thinner branches can be cut up to a metre or so long plus have more than one tip.
Once you have removed all the smaller growth it is time to start cutting back the larger branches. You can do this in sections or if possible just dropping a whole branch at a time. When you make the final cut on a branch it needs to be a minimum of at least 6″ from the join/start of the branch if you want it to re-shoot, if you do not want a branch where it is you simply cut it flush to the main trunk/branch it comes from. Work your way around the tree until you have removed all the wood to suit the result you hope to achieve then you can either paint the cut ends or use DAP on them. The end height will depend on the tree shape, again I like them to be a maximum 5′ to 6′ high at most so all the new growth tips with be producing flowers close to face height but this will depend on the shape of the tree, then you can simply cut/trim the new tips to keep the shape and height of the tree as they grow and flower. The other thing you can do is create a multi-colour tree by grafting all the new growth tips with different colours but make sure that the ones you use all grow at similar rates so that the tree holds its shape.
If you simply want to lower the height slightly or do a general clean up on the tree, you need to remove all the “dead” wood first. In big trees you often find dry hollow branches/sections that can become a home to ants which in turn causes more damage to your tree. You need to go through the tree and cut all these dead pieces off flush to the branch the are coming from. You also need to remove branches that are rubbing on other branches, ones that are not big enough to reach the canopy and those that are long and spindly. All the branches need to be a reasonable size and healthy, if they are marked badly, have aerial roots or sunburn, etc you are better off removing them. This also allows the tree to have better air circulation which is beneficial. Always cut to keep the canopy looking good and allow for the new growth from any branches you trim back. Again either paint or use DAP to cover the cut ends and do not be afraid to cut back hard if needed, plumeria have strong survival instincts and can regrow very well.
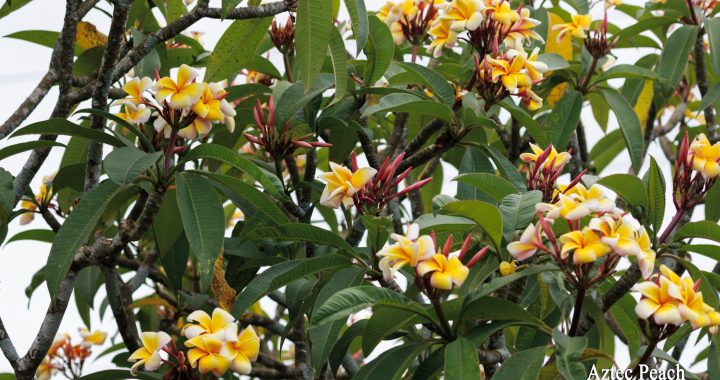
The tree shown above was a huge white/Celadine that was around 12′ plus tall. I cut it back to just under 6′ and all this new growth (and flower) was on it the next season. The following season I started to graft all the separate new tips with wood from the best of all our other trees so that now there are over 50 plus varieties growing on it. This is the shape I prefer for a stumped tree, I think the wider branching simply looks more appealing but it is each person’s preference.
 Plumeria Propagation – Cutting, Rooted or Grafted
  Understanding Plumeria’s Seasonal Cycles
  Why are Plumeria Seedlings so Different?
  Mealy Bugs Plumeria Pests
  Known Plumeria Names