Grafting with zip (cable) ties
On the farm in Australia we had a big problem with cockatoos landing on branches/tips we had recently grafted then when they jumped to fly off they would break off any fresh grafts. I looked at a few ways to combat this and in the end I started using zip ties as they held the graft together very well and were strong enough to take the downward force from the birds taking off. It is very simple to do, in fact we started doing this method with virtually all our grafts, all you need are your basic grafting tools and the zip ties. Because we did this on established plumeria I also used a piece of nylon cutting board to place behind the branch to be cut so that it did not move and made the cut a lot easier, then I placed it on the ground to cut the piece I wanted to graft using the same angle.
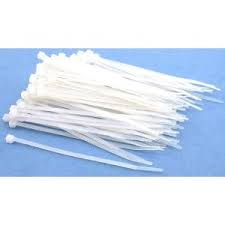
Tools & zip ties, we found the 6” and 8” were the most used sizes, colour of the ties makes no difference but you want ones that are reasonably strong and will not break when you apply the pressure to hold the wood together.

I use an angle cut so that it gives a good length(at least 2″) for the wood to join.
Start up 3 ties so that they will still slip over the graft, slide 1 onto the tree section and 2 onto the graft piece, this enables you to simply slide them into position with one hand holding the graft together as you tighten them. Now you line up the wood and slide one of the top zip ties to the middle of the graft and slowly pull it tight while keeping the graft lined up, make sure you pull it tight enough to hold the graft together firmly. Next slide the other top zip tie down so it lines up a 1/4″ to 1/2″ below the top of the cut and pull this one tight as well. Finally slide the bottom zip tie up over the bottom of the graft as per the top one and tighten it up, now you go back to the middle one applying more pressure so the graft is really firm, repeat this on the top then the bottom ties ensuring that the graft does not move during the process, you must do them in this order or the graft can slip.
Once you have the graft nice and tight take a piece of grafting tape and wrap it along the graft going between the ties to seal off the cut, I go up then back down tying it off at the bottom as per a normal graft. You can also trim the ends from the ties if you want to but make sure you leave enough tag to be able to pull the zip tighter if the wood shrinks slightly, otherwise you can leave the zips uncut.
I leave the ties on for several months until the graft wood starts to swell around them to ensure it is knitted properly & doesn’t get broken off. This method is great for branches that are not vertical as well as grafts done in the open but can still be used on any other grafts, in the pics below the triple graft is done with three different varieties.
As a late addition to this piece, when you want to remove the ties I find a pair of side cutters or small stitch cutters do it the easiest without causing any damage or you can simply cut off the clip area with a set of nail clippers
 Plumeria Propagation – Cutting, Rooted or Grafted
  Understanding Plumeria’s Seasonal Cycles
  Why are Plumeria Seedlings so Different?
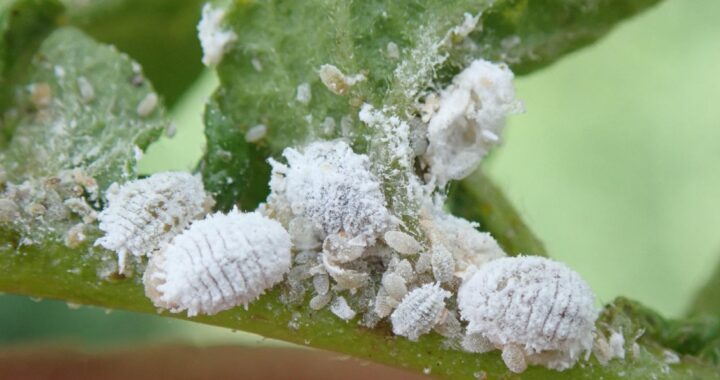
  Mealy Bugs Plumeria Pests
  Known Plumeria Names